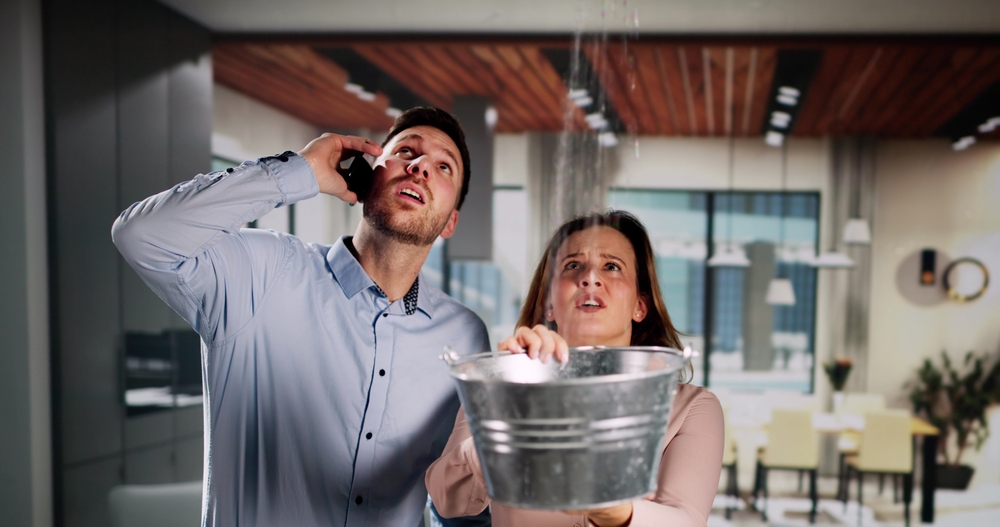
Leaks in water heaters can be frightening. They sometimes turn into major plumbing emergencies that seriously compromise the water supply in your house. Taking prompt care of a water heater leak will help you avoid expensive repairs and guarantee family’s safety. This page offers a detailed walk-through on properly managing a water heater leak.
1. Identify the Source of the Leak
Finding the origin of a water heater leak comes first in handling it. By means of a thorough check, one can identify the issue and stop more damage. Here’s how to investigate thoroughly:
Visual Inspection
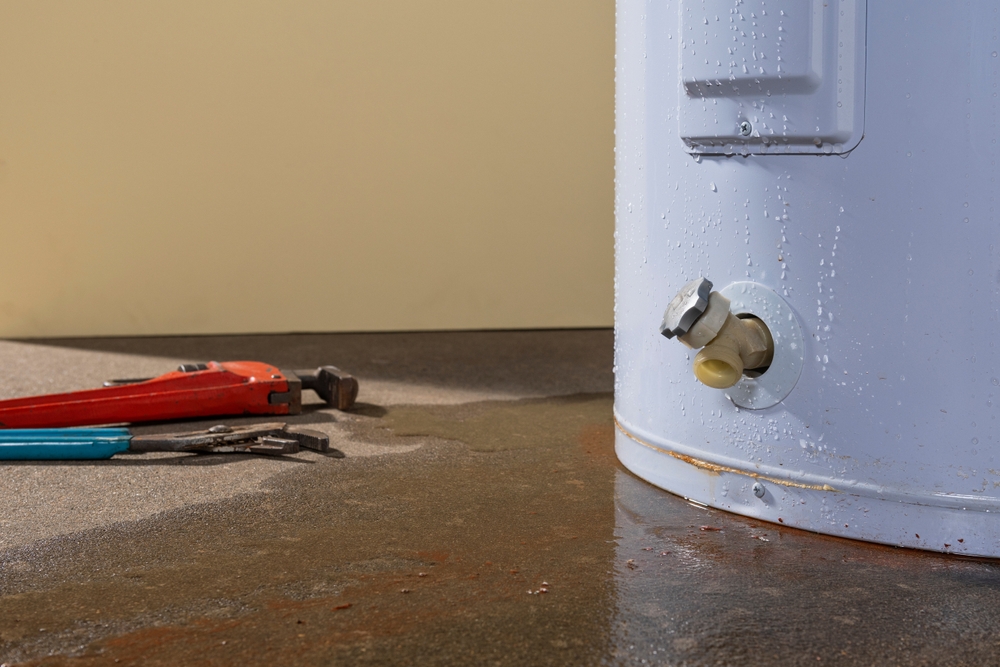
Examine the whole water heater carefully first visually. Search for obvious leaking indicators. Typical leak sources are:
- The Drain Valve: Usually found at the bottom of the tank, this valve can cause leaks whether damaged or loose.
- The Temperature and Pressure Relief Valve: Found toward the top of the tank, this valve stops too much pressure from developing. Should it fall short, it could spill.
- The Fittings and Connections: Look for leaks or drips on every pipe and connection. Sometimes tightening loose fittings helps to fix minor leaks.
- The Tank Itself: Look over the tank for rust, cracks, or corrosion indicators. These problems could call for replacement and cause notable leakage.

Listen for Unusual Sounds
Apart from a visual check, also pay attention to odd sounds. Usually indicating a leak are dripping or gurgling sounds. Should you detect these sounds, respond quickly to stop more water damage.
2. Shut Off the Water Supply
Turning off the water supply comes next once you have found the leak source. This process stops more water from getting into the system, therefore aggravating the leak. Here’s how to accomplish it:
Locate the Shut-off Valve
Usually found on the cold water supply pipe heading to the water heater is the shut-off valve. Usually, one can turn a round valve by hand.
Turn the Valve Clockwise
Turning the valve clockwise will cut off the heater’s water supply. Reducing damage and stopping more water leaking depend on this stage.
3. Turn Off the Power
Turning off the water heater’s power is the next step in guaranteeing safety. While you evaluate and fix the water leak, this stage stops electrical dangers. Here’s how to proceed:
Locate the Electrical Breaker
Look for the breaker on your electrical panel handling water heater control. Usually, it has an obvious label.
Switch Off the Breaker
Turn off the breaker to cut heating element electricity. While you are working on the water heater, this operation eliminates any possibility of electric shock or harm.
4. Drain the Remaining Water
You have to empty any last water from the tank after cutting off the electricity and water supply. This stage lets you more successfully inspect the system and helps lower the chance of more leaks. Use these instructions:
Open the Drain Valve
Open the drain valve gradually from the tank’s bottom. This valve lets you empty the tank of any last water.
Place a Bucket or Drain Pan
To gather the water, lay a bucket or drain pan under the drain valve. This helps to stop extra damage and water from splashing onto the floor.
Allow the Tank to Drain
Let the tank run totally empty. Be patient; this process could take some time. You can then start evaluating the damage after the tank runs empty.
5. Assess the Damage
It’s crucial to look for water damage once the tank has been emptied. A comprehensive review will enable you to decide what to do going forward. Look for what follows:
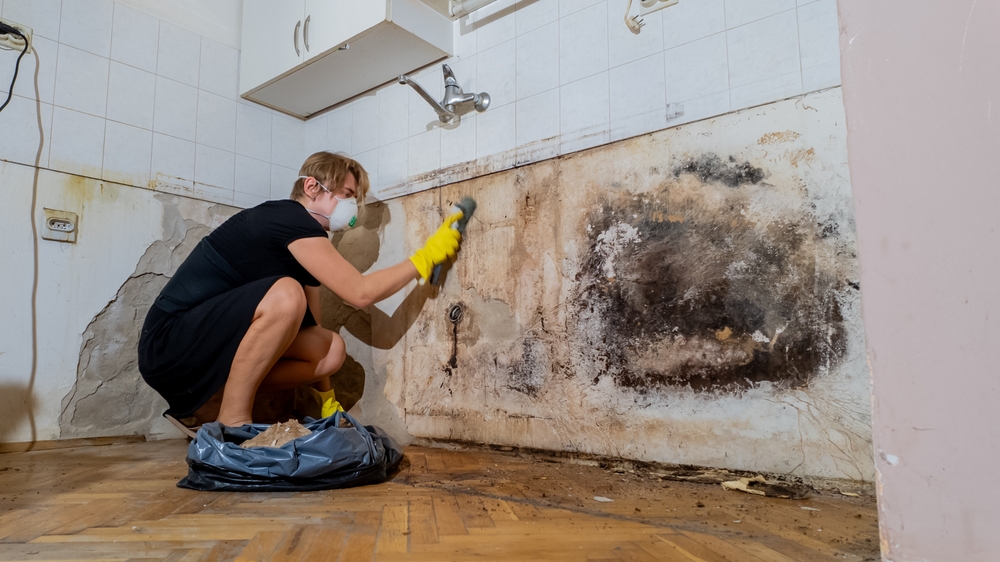
Check for Signs of Water Damage
Search the floor, walls, and ceiling surrounding the water heater for evidence of water damage. Look for warping materials, mold, or discoloration.
Determine the Severity of the Leak
Calculate the leak’s degree of severity. While major leaks may call for expert replacement, minor leaks may be fixed with basic repairs. See a qualified plumber right away if you find significant damage or suspect structural problems.
6. Take Action
Once the damage has been evaluated, depending on the leak’s degree you must act accordingly. Here’s how you go:
Minor Leaks
Should the leak be minimal and you feel qualified for do-it-yourself repairs, you could be able to address it on your own. Here are few things to give thought:
- Tighten Loose Fittings: Review all fittings and connections. Turn any loose components using a wrench. Often, this stage fixes little leaks.
- Replace a Faulty Valve: Think about replacing the temperature and pressure relief valve or drain valve should it be broken. Install according to manufacturer directions.
Major Leaks
Major leaks call for the advice of a qualified plumber. Trying to fix a significant leak yourself could aggravate the situation and cause further harm. Professional assessment of the matter will help to suggest the best line of action.
7. Prevent Future Leaks
Preventing future water heater leaks is mostly dependent on your actions. Consistent maintenance and inspections help to prevent unanticipated problems. These pointers will help you to maintain the proper running condition of your water heater:
Regular Inspections
Regular water heater checks help you find wear and tear or leaks. Check your water heater several months once to develop a habit.
Professional Maintenance
Plan annual expert maintenance to guarantee correct operation and look for safety concerns. Before a possible issue gets more serious, a competent technician can spot it.
Consider Water Heater Age
Consider replacing your water heater aggressively if it is almost at the end of its lifetime, usually 8 to 12 years. Older units are more likely to leak and fail. Changing an old water heater will prevent major repairs and unanticipated leaks.
Important Notes
Safety First
Dealing with water heater leaks always gives safety top priority. See a trained plumber if you are unsure about any facet of the repair process. They know enough to manage the matter safely.
Address Water Damage Promptly
Should you believe there is water damage, take quick action. Structural problems and mold development resulting from water damage can be expensive to fix. Dry out impacted areas using fans and dehumidifiers; if needed, see a specialist.
Keep Your Home Safe
These guidelines will help you to properly manage a water heater leak and reduce possible property damage. Recall that early discovery and quick response are absolutely vital in avoiding expensive repairs and guaranteeing your family’s safety.
Conclusion
Although water heater leaks might be a major problem, you can properly handle it with correct understanding and fast response. Start by visually looking for the leak and then listening for odd sounds. To stop more damage, then, cut off the water supply and the power to your water heater. Empty the tank of any last water and closely evaluate the matter.
Depending on the degree of the leak, take suitable action—a little correction or a serious problem needing professional assistance. At last, take preventative action to stop leaks going forward. Maintaining proper functioning order of your water heater depends mostly on routine inspections, expert maintenance, and knowledge of its age.
Being proactive helps you to shield your house from the terrible consequences of water heater leaks. Maintaining a safe and effective home environment depends on your being informed, fast response, and top priority of safety.
Philadelphia Restoration Services
https://www.google.com/maps?cid=3399342399556699153
+1 267 668 0013
https://philadelphiarestorationservices.com/